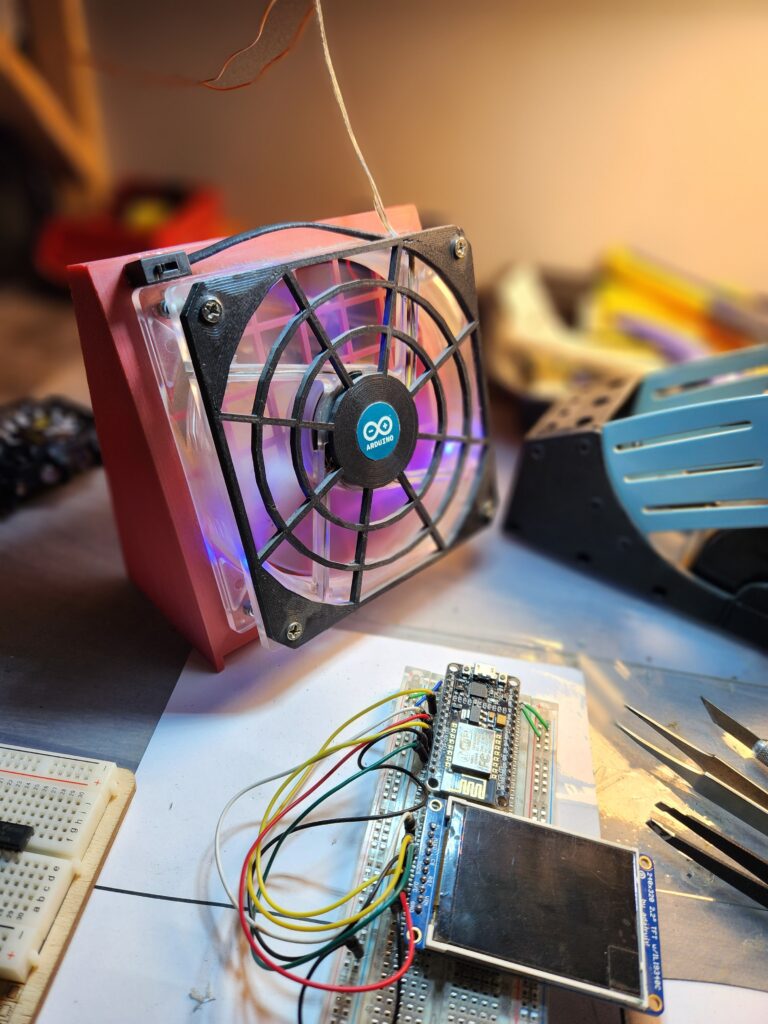
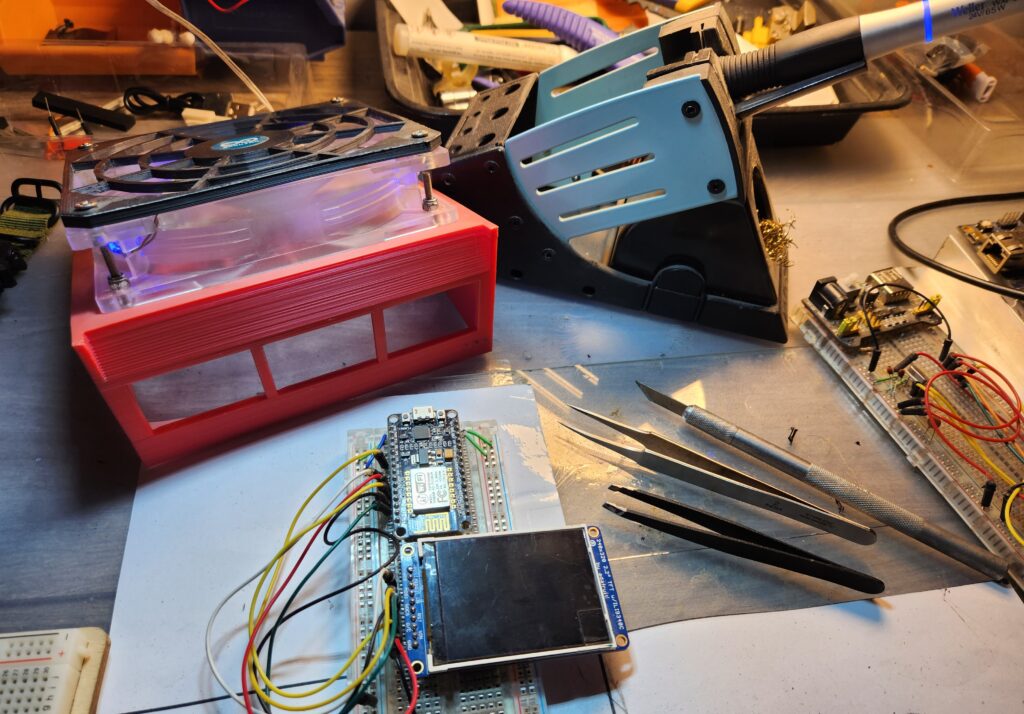
Soldering fume extractor DIY is a project that can help you reduce the exposure to harmful fumes generated by soldering. Soldering fumes contain rosin, which can cause eye, throat and lung irritation, nose bleeds, headaches, and even asthma. A fume extractor is a device that sucks the fumes through a filter and purifies the air. You can buy a commercial fume extractor, but they can be expensive and bulky. Alternatively, you can make your own fume extractor with some simple and cheap materials, such as a fan, a filter, a switch, and a USB power module. In this article, I will show you how to make a DIY fume extractor with minimal tools.


What you will need?
To make a DIY fume extractor, you will need the following items:
- A 120mm case fan. You can use any fan that fits your filter, but a 120mm fan is a common size and has enough airflow. You can salvage a fan from an old computer or buy one online.
- A carbon filter. This is the material that will trap the fumes and neutralize them. You can buy a carbon filter online or make your own from activated charcoal and a sponge.
- A USB boost module. This is a small circuit board that can boost the voltage from a USB port to 12V, which is the typical voltage for a fan. You can buy a USB boost module online or use a 12V power adapter instead.
- A switch. This is optional, but it will allow you to turn the fume extractor on and off. You can use any switch that can handle 12V and a few hundred milliamps of current. You can buy a switch online or salvage one from an old device.
- Some wires, solder, and a soldering iron. You will need these to connect the fan, the switch, and the USB boost module. You can use any wires that are thin enough to fit through the fan holes, but thick enough to handle the current. You can buy wires, solder, and a soldering iron online or use what you have at hand.
- A 3D printer. This is optional, but it will allow you to print a custom enclosure for the fume extractor. You can use any 3D printer that can print PLA or ABS plastic. You can buy a 3D printer online or use a local service or a friend’s printer.
- Some screws, nuts, and a screwdriver. You will need these to assemble the fume extractor. You can use any screws and nuts that fit the fan holes, but M3 size is recommended. You can buy screws, nuts, and a screwdriver online or use what you have at hand.
To make a DIY fume extractor, follow these steps:
How to make it?
- Prepare the filter. Cut the filter to the same size as the fan, using the fan as a template. You can use scissors or a knife to cut the filter. If the filter is too thick, you can cut it into thinner layers and stack them together.
- Prepare the fan. Find the positive and negative wires on the fan, usually red and black. If the fan has three wires, one is for the fan speed and is not needed. Cut the fan connector if it has one and strip the wires.
- Prepare the USB boost module. Connect a USB cable to the module and use a multimeter to measure the output voltage. Adjust the screw on the module until the voltage is 12V. Cut the USB cable and strip the wires.
- Prepare the switch. Find the terminals on the switch and solder wires to them. You can use any colour of wires, but it is recommended to use red for the positive and black for the negative.
- Solder the wires. Solder the red wire from the USB boost module to one terminal of the switch. Solder another red wire from the other terminal of the switch to the positive wire of the fan. Solder the black wire from the USB boost module to the negative wire of the fan. Use heat shrink tubing or electrical tape to insulate the connections.
- Print the enclosure. Download the 3D model files from here and print them with your 3D printer. You will need to print four parts: the base, the cover, the intake, and the outlet. You can use any colour of filament, but it is recommended to use black or dark colours to match the fan and the filter.
- Assemble the fume extractor. Place the filter inside the intake and secure it with the screws and nuts. Place the fan on top of the filter and secure it with the screws and nuts. Place the outlet on top of the fan and secure it with the screws and nuts. Place the switch and the USB boost module inside the cover and glue them with hot glue or epoxy. Place the cover on top of the outlet and secure it with the screws and nuts. Place the base under the intake and secure it with the screws and nuts.
- Test the fume extractor. Plug the USB cable into a power source, such as a computer, a power bank, or a wall charger. Turn on the switch and check if the fan is spinning and blowing air. If not, check the wiring and the connections. If yes, you are done!
How to use it?
To use the DIY fume extractor, place it near your soldering station and turn it on. The fan will suck the fumes through the filter and blow the clean air out. You can also move the fume extractor closer or farther from the soldering iron, depending on the amount of fumes. You should replace the filter when it becomes dirty or clogged, which will depend on how often and how long you solder. You can buy a new filter or make your own from activated charcoal and a sponge.
Conclusion
Soldering fume extractor DIY is a simple and cheap project that can help you protect your health and the environment from soldering fumes. You can make your own fume extractor with some basic materials and tools, such as a fan, a filter, a switch, and a USB power module. You can also print a custom enclosure for the fume extractor with a 3D printer. You can use the fume extractor to suck the fumes through the filter and purify the air. You can adjust the angle and the distance of the fume extractor to suit your needs. You should replace the filter when it becomes dirty or clogged. I hope you enjoyed this project and learned something new. If you have any questions or comments, please let me know. Happy soldering! 😊


